3.3 Raster Grids
MicroCity can open, create and edit SAGA Grid (*.sgrd) which is called Grid and maintained in the Data Tab of the Workspace Panel. Image files (*.bmp, *.gif, *.jpg, *.png, *.tif, *.pcx) can be opened as Grid as well. By using modules (see 3.7) other raster file formats, such like ESRI Arc/Info Grid (*.adf) and Surfer Grid (*.grd), can also be imported or exported.
Opening, Creating, Saving and Closing Grids
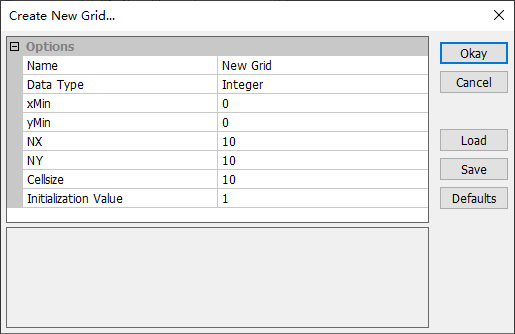
Users can click Load button or File->Grid->Load menu item to open a Grid. Creating new Grid can be done from menu File->Grid->New and the pop-up dialog:
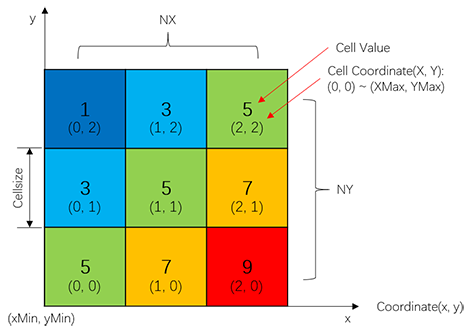 The above right figure is the data structure and definitions of a Grid. A Grid starts from its bottom left corner which has coordinate (xMin, yMin), contains NX*NY Square Cells. Each cell has its own Integer Coordinate (X, Y), in the range of (0, 0) to (XMax, YMax).
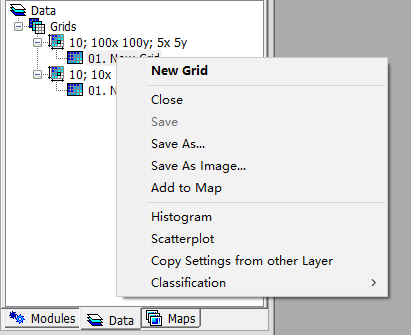
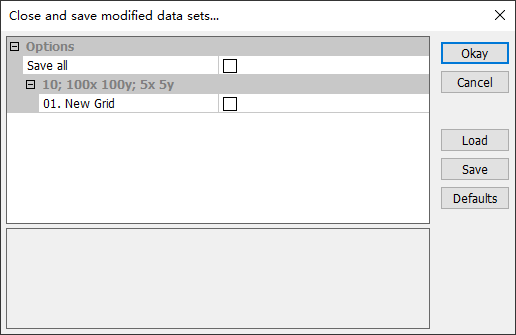
Saving Grid can be done from the right click context menu Save or Save As. You can also close a Grid from the menu and get a prompt dialog to save it.
Showing and Editing Grids
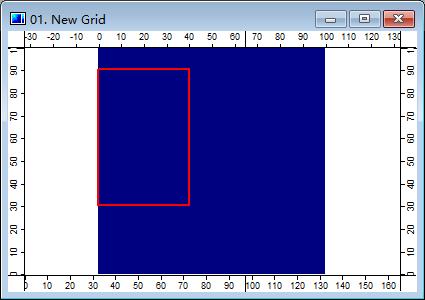
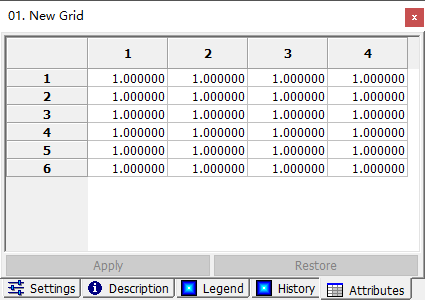
Double click a Grid from the Data Tab will give you a map view (for maps and layers see 3.6). Toggle Action botton and select a range of cells in a Grid. Then the value of these cells can be edited in the Attributes Tab of the Settings Panel.
Display Settings and 3D View
Users can show cell values, change color and set transparency of a Grid by using Settings Panel. Using button can creat a 3D surface of a Grid in which cell values are translated to elevation (see 3.6).