3.6 Maps and Layers
In MicroCity, Shapes and Grids can be showed in Maps. Each map may contains multiple layers and each layer is corresponding to a Shapes or a Grid.
Opening, Creating, Saving, Printing and Closing Maps
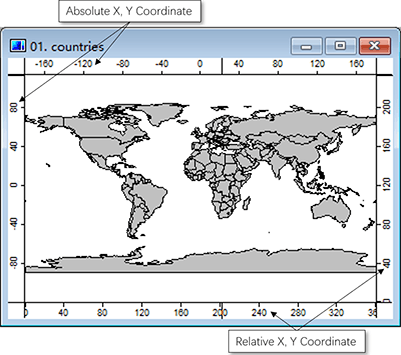
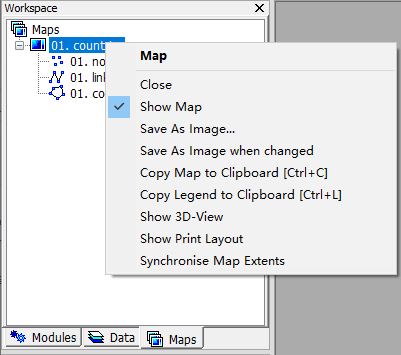
Because Maps are based on Shapes and Grids, they can not be saved or opened independently, but can be saved or opened along with a MicroCity Project (*.mprj). Creating a Map is by double clicking a Shapes or Grid from the Data Tab of the Workspace Panel. A Map window contains four coordinate bars which can be used to locate objects (see below). A Map can also be printed or closed from the context menu of the Maps Tab of the Workspace Panel.


Adding, Moving, Hiding and Closing Layers in a Map
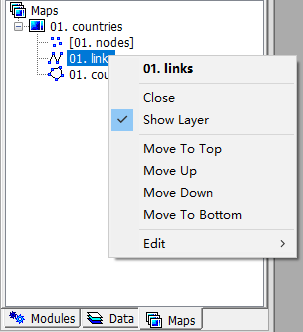
A Map can have multiple Layers, each of them represents a data item. One can add a Layer to a Map by double clicking a Shapes or a Grid from the Data Tab. A lower layer can be obscured by upper layers. One can move a layer by dragging, hide a layer by double clicking and close a layer through the menu (as shown below).

Controlling Map Views
When a data item or a layer is selected, this layer is called the active layer. One can toggle the Action button to select and edit an object in the active layer. By toggling the Zoom
or Pan
botton, the map can zoomed in, zoomed out or panned. If one lose in a map, he can use the Zoom to Full Extent
button to get a full view of the map. Other zoom controlling buttons
can be used to facilitate the map browsing.
The Synchronise button can be used if you want compare difference between two or more maps. The Ruler
button can be used to meassure distances. Note that, by default, the unit of the distances measured is kilometer under the coordinate system of Earth. One can change the coordinate system to Non-Earth from the Settings Panel of the Map, and get Cartesian distance without unit.
One can create a 3D surface map by clicking 3D button, which need a appropriately sized Grid (see 3.3).